Search Equipment Inventory
Extensive Inventory
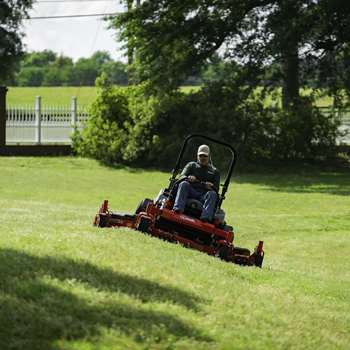
Explore our vast selection of top brands including LS Tractor, Ferris, Echo Power Equipment, and more. No matter your project or property size, we have the tools and equipment that fit your needs.
Secure Equipment Financing
Ease the financial burden of your purchase with our secure equipment financing options. At Bob’s Tractor Parts and Equipment, we work with you to find a plan that fits your budget without stress.
Tractor and Equipment Service
Keep your equipment running smoothly with our comprehensive tractor and equipment service. From regular maintenance to repairs, our expert service team ensures your tools are ready when you need them.
explore popular brands
Bob’s Tractor Parts and Equipment is a trusted name for pros, homeowners, and hobby farmers alike, offering a broad selection of quality equipment from LS Tractor, Echo Power Equipment, Exmark Mowers, Kawasaki Engines, Ferris Mowers and Dirt Dog Implements. Need help finding the right equipment? Bob’s your man! We’re dedicated to ensuring you get the equipment you need to get the job done. Visit our shop, or call us to discover why we are Nashville’s best equipment dealer.


Why choose Bob’s Tractor?
At Bob’s Tractor Parts and Equipment, we don’t just sell quality tools and machinery, we build lasting relationships based on trust, service, and commitment to our customers’ success.
Tennessee Tractor News
Be the first to know about our latest products, special offers, upcoming events, and valuable tips for managing your land efficiently and sustainably.